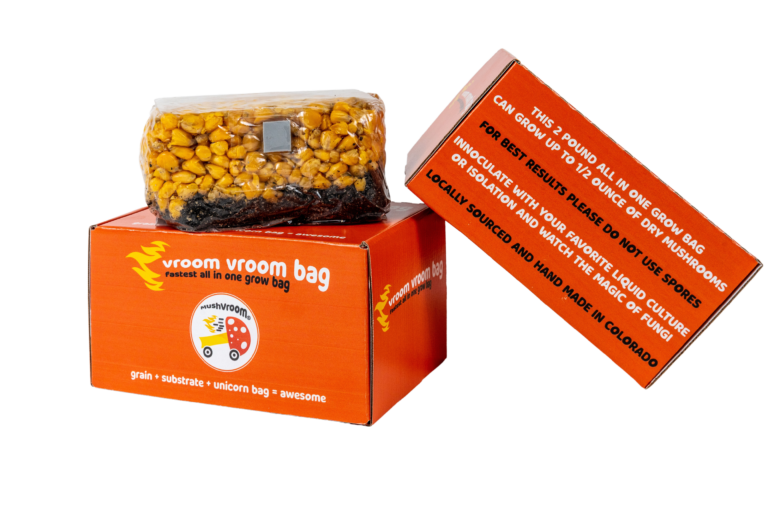
This is the primary “soil” used in mushroom growing. Grains such as corn, rye, oats, milo, millet, etc. are used as a nutrient-rich growing medium for spores, liquid culture, and agar slices. To make grain spawn, the grains are hydrated and sometimes boiled, until they soak up as much water as they can hold. Then these grains are bagged and pressure cooked until they are fully sterilized, or else they’ll get moldy. The grain bags that we sell are free of any competing microorganisms or contamination, allowing your mycelium to thrive and grow without any competition! After your spawn has fully colonized the grain, it is wise to mix it with substrate for optimal growth.


2. Inoculate with your favorite liquid culture using proper aseptic technique.
3. Maintain proper temperature and watch the colonization and growth.

How it Works!
Grain Spawn
Substrate
Inoculation
Colonization
Fruiting Body
Grain Spawn
Substrate
This is the secondary “soil” that is used in mushroom growing. Most recipes consist of CVG (coco coir, vermiculite, gypsum). Sometimes, for additional “fertilizer” or nutrients, mycologists such as ourselves, will add a natural manure into the mix, whether it be cow, horse, ostrich, elephant, giraffe, or good ole’ worm castings (we use these). The reason manure (poop) smells, is because there are trillions or bacteria that live in it and emit an odor. In mushroom growing, substrate is usually pasteurized in order to kill the bad, smelly bacteria, while keeping some of the beneficial bacteria. In the case of our all in one grow bags, we sterilize our bags at temperatures that kill all the bacteria, so that we can guarantee there is no contamination.
Inoculation
This is the method by which you introduce your mushroom genetics into your grow bag. Whether it is via liquid culture syringe (injects into bag), spore syringe (injects into bag), grain to grain transfer (dumped into bag by cutting top of the bag), or agar slices (put into the bag by cutting top of the bag). We recommend ONLY using liquid culture syringes from trusted vendors.
Colonization
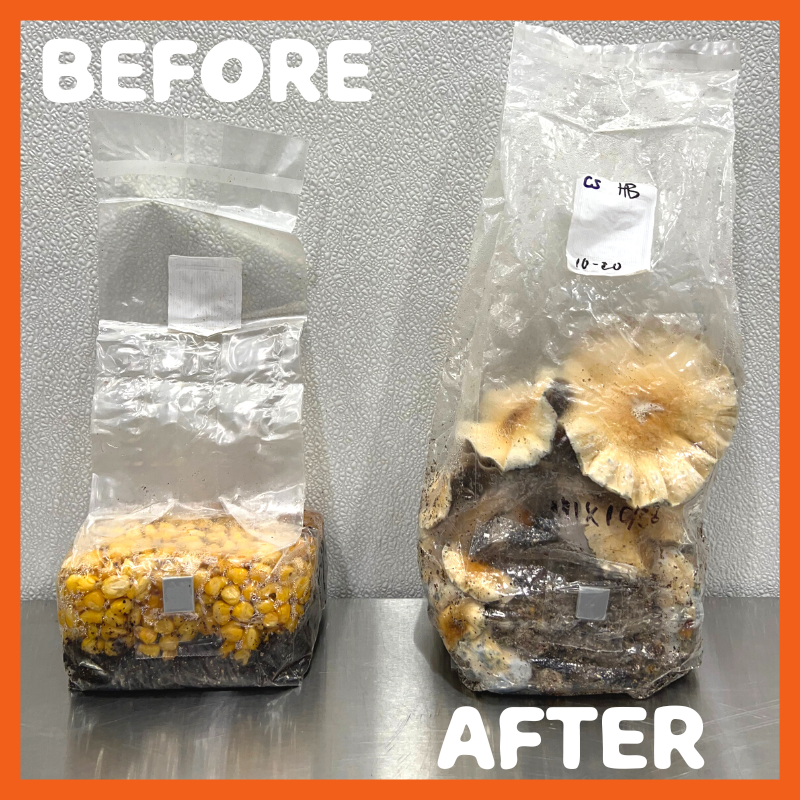
The process of mycelium munching and spreading on the yummy growing medium. The white spawn growth stretching through the bag is what mycologists call colonization. Generally, mycelium prefers to colonize on grains first, then on the substrate. Shortly after you inoculate your grains with liquid culture, you should expect to see mycelial growth within 1-3 weeks. Then you can grab the bag and gently massage it with your hands to mix all of the colonized parts of the bag with the uncolonized parts to speed up growth. How quickly your grow bag colonizes depends on the following: temperature, light, quality of liquid culture, quantity of liquid culture, your aseptic technique. Here’s the formula for fastest full colonization:
Temperature: 68-74 degrees fahrenheit
Light: Natural day light, however much light is on your kitchen countertop is fine.
Quality of liquid culture: Chunky and full of visible mycelial tissue and strands.
Quantity of liquid culture: 5-10mL. For fastest growth, we recommend injecting the full 10mL into the grains and then flipping the bag over every 12 hours (0-72 hours post injection) to avoid liquid from pooling in one place.
Your aseptic technique: Cleanliness in your preparation and inoculation steps will allow for faster colonization of your bag since the mycelium will be happy!
Fruiting Body
The fruiting body is the mushroom itself. Once your bag is fully colonized, with the right combination of humidity, temperature, and air flow, the mushrooms will begin to grow, and you will see tiny little bumps (pins) on the top layer of your spawn. These pins will then begin to grow into full size mushrooms.
Trust Our Experience!
Love for the fungi
High quality standards
Leading experts
Best pricing
Instructions
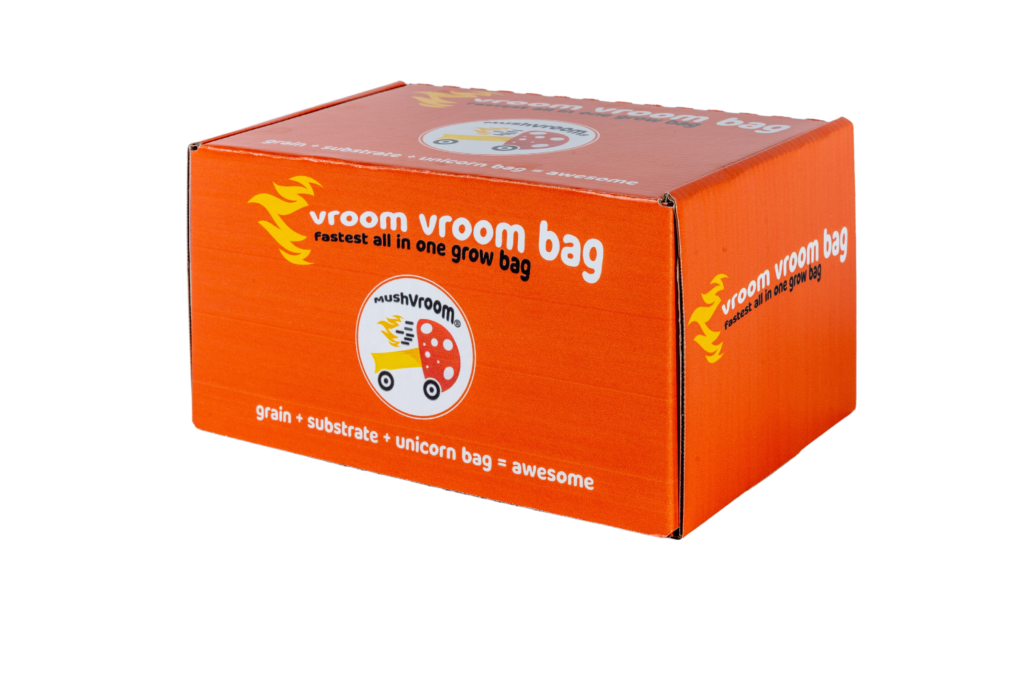
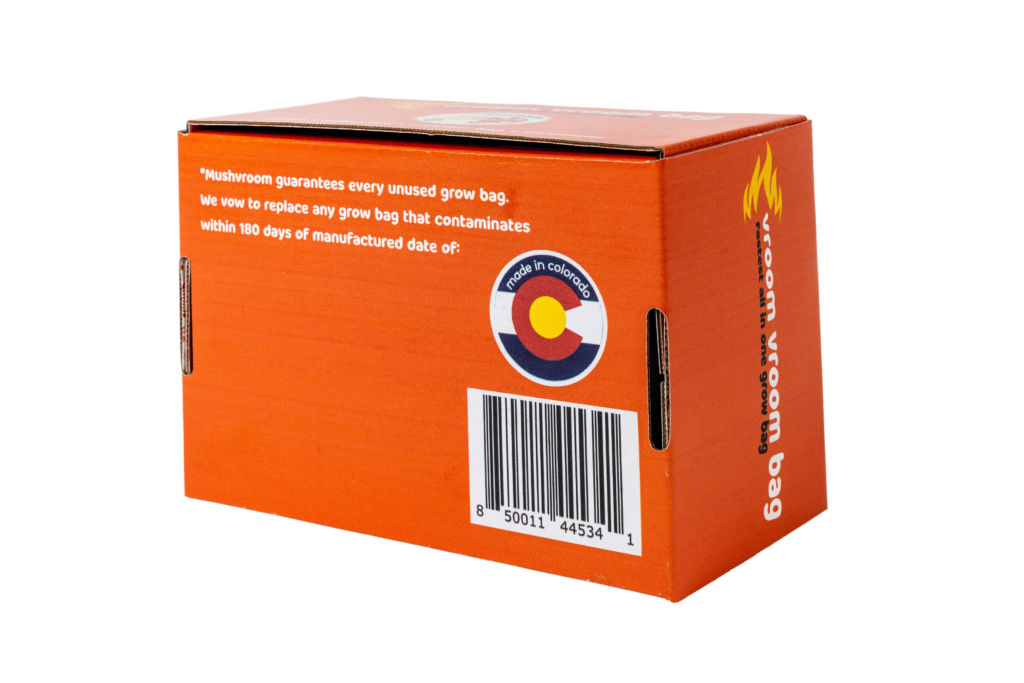
Congratulations, you are now a proud owner of the best all in one grow bag. We recommend that you keep the bag at room temperature for at least 24 hours before inoculating. DO NOT discard the box as that will be used throughout the growing process. There is no need to use the bag right away, it can be stored, sealed inside of the vacuum bag and inside of the box for up to 6 months.
Once you are ready to inoculate the bag, follow the instructions as follows.
Make sure to have the following items for pre-inoculation prep:
- All in one grow bag (included)
- Alcohol wipe (included)
- Scissors (not included)
- Liquid culture syringe (sold separately)
- Lighter or blow torch (not included)
- 2-3 paper clips (not included)
Step One
Step Two
Step Three
Step One
When you are ready to inoculate your bag, make sure that you have all of the necessary items on hand. Tear the lid off the box at the perforation and discard. Keep the vroom vroom bag in the lower half of the box during growth as this will shield the bottom of the bag from excess light that may cause side-pinning. The vroom vroom bag itself comes inside of a vacuum sealed bag to maintain freshness. Using a pair of scissors, carefully cut only the vacuum sealed bag. During this process DO NOT damage the vroom vroom bag. The vacuum bag can be placed in your recycle bin
Step Two
Once the grow bag is removed from within the vacuum bag, locate the gray square injection port on the bag and set the bag down with the gray square facing up. Wash your hands with soap and water. Use the supplied alcohol prep pad to wipe down the surface of the port. Without delay, attach your metal syringe needle (not included) to the liquid culture syringe (not included) and use a flame to sterilize the full length of the metal syringe needle until it is red hot. Immediately inject 5-10mL of your liquid inoculant through the injection port. Insert it straight down all the way. As you slowly start pulling out the needle, begin to depress the plunger of the syringe in a way that injects 5-10mL of liquid culture into the bag before you remove the entire syringe tip. Do not reinsert the syringe into this bag without resterilizing with a flame again.
Step Three
Unfold the flap of the vroom vroom bag with the filter patch facing you and set it back into the box. It is recommended to flip the bag over on any side every 12 hours for the first 3 days in order to mitigate any possible pooling of liquid. Over the next week or two, you should see some kind of white mycelial growth. Within three to five weeks the white mycelium should colonize approximately half of the bag. In order to speed up colonization, you can use both hands and try to mix the colonized parts of the bag with the non-colonized parts by massaging the bag gently. Once the bag becomes fully colonized, it will begin to inflate and naturally exchange carbon dioxide for oxygen through the white filter patch. At this time you should begin to see small pins (baby mushrooms) form and grow. Once the mushrooms have grown to a decent size, they are ready to pick and enjoy!
It is recommended that the mushrooms are picked right before the veil opens. Usually, when mushrooms begin to flush (grow along the entire surface of the bag) the largest and oldest mushrooms will begin to drop spores, this is precisely the time when you should pick all medium and large-sized mushrooms. You can do so by cutting straight across the top of the grow bag, above the filter patch. Make sure to leave room above the filter patch in order to fold over the top of the bag and clip it in place with paper clips. This will allow the bag to retain moisture for possible future harvests. It may be possible to have as many as 2, 3, or even 4 flushes. Please keep in mind that the amount of growth diminishes after the first flush. There is also risk of contamination after the first harvest, so please use clean hands or wear gloves sprayed with isopropyl alcohol to harvest. If there is presence of any mold or contamination, please throw away the bag.
The bag should be kept out of direct sunlight and anywhere as long as there is some daylight. It is important to keep the bag at a constant 68°-74° and watch the magic of fungi. “FOR BEST RESULTS PLEASE DO NOT USE SPORES*
Don't Take Our Word For It

Jesse
Quality

Mathew
Highly Recommend


